Auf Wunsch meiner englischsprachigen LARP-Freunde hier einmal meine Anleitung zur LARP-Bärenfalle auf Englisch. Die deutsche Anleitung findet ihr hier.
This is my tutorial for a bear-trap that is suitable for LARP.
I wanted it to be fully usable and so I tried some ways until I ended up with this tutorial. Have fun.
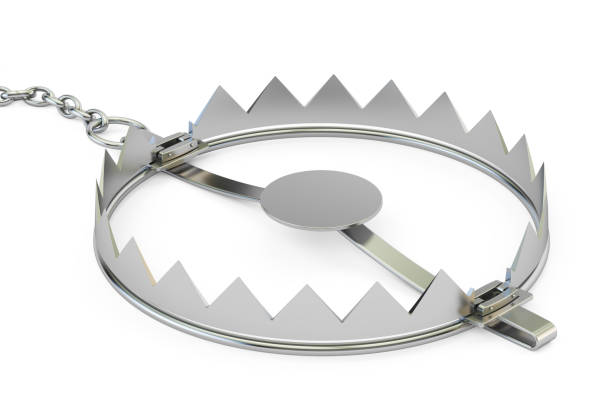
Traps in LARP are a great way to represent roles like ranger and similar.
It is great fun if the traps are really usable and can be triggered just like real bear-traps.
This is my illustrated step-by-step manual for my LARP bear-trap.
Needed material:
- 2 rat traps (to be preferred over mouse traps because they last longer)
- 1 foam panel
- 1 wood panel
- 1 electric drill
- some screws
- cutter
- scissors
- pencil
- superglue
- spray paint (metal-optic)

Step 1: Preparation of the wood panel
Prepare a suitable size of the wood panel (40 x 20 cm is fine). A jigsaw is really helpful for this.

Step 2: Cut out the „leghold trap“
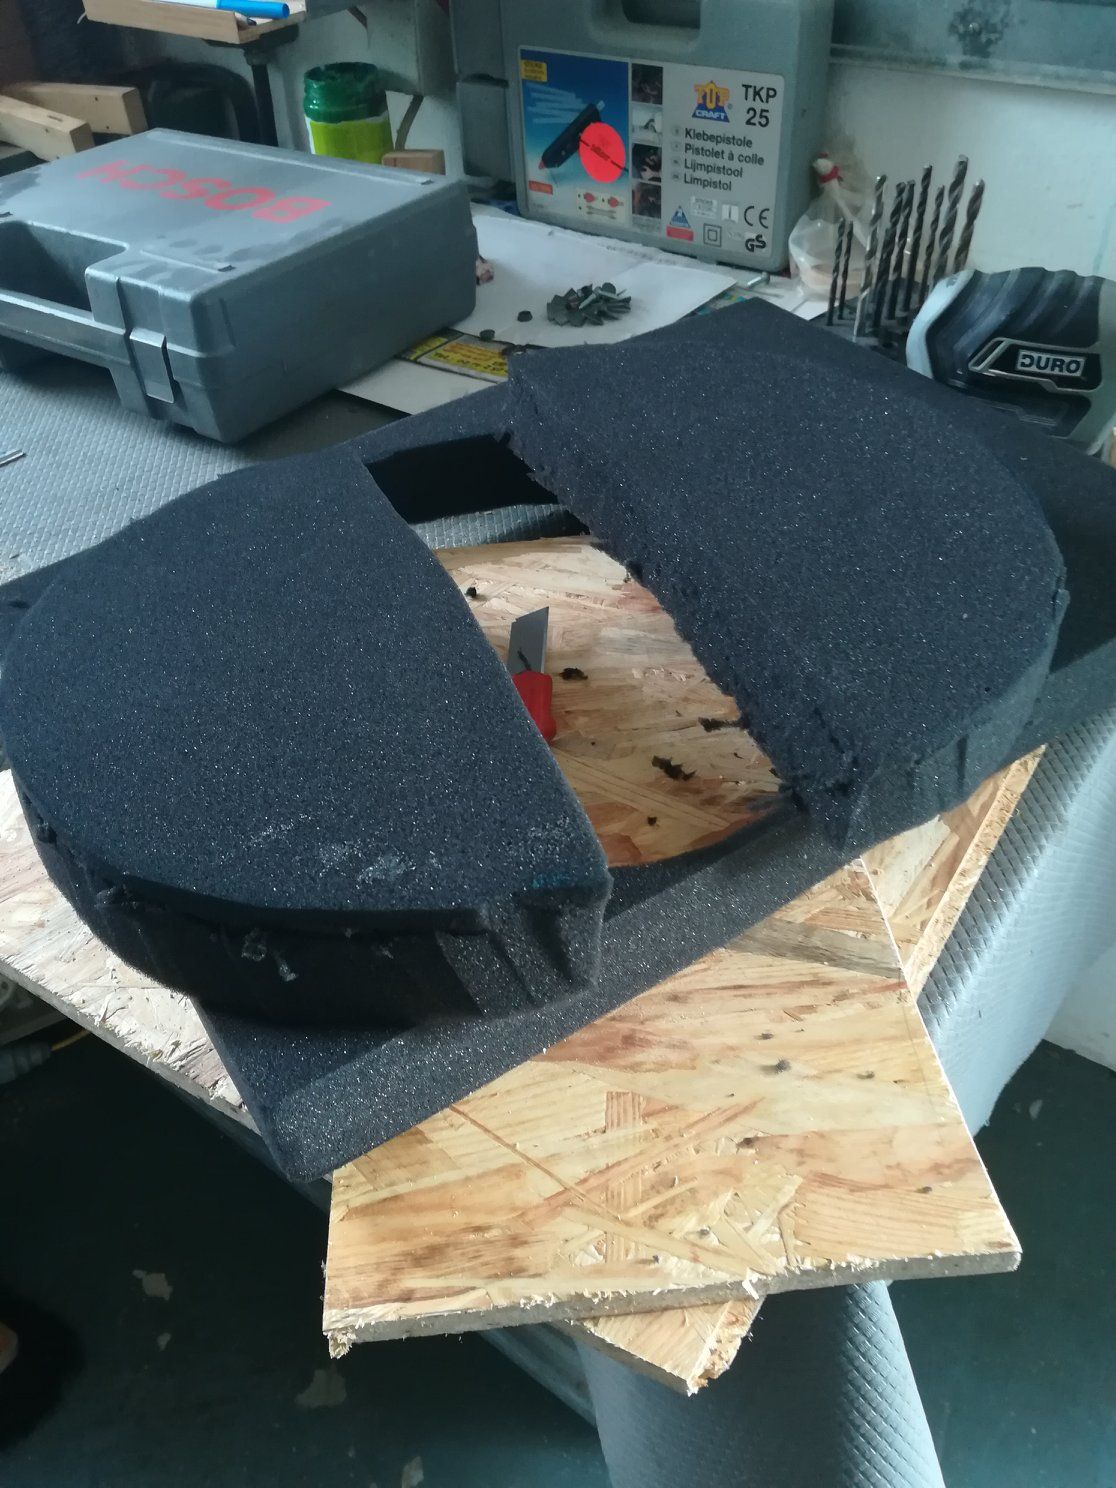
We now take the foam panel and cut out the pieces for the leghold trap.
Use the pencil to draw a circle on the foam. It is useful to take a round plate, put it on the foam and draw the shape of the plate on the foam.
If this is done, we part the circle to get two semicircles.
We now cut them out using the cutter.
Step 2: Mount the foam to the traps
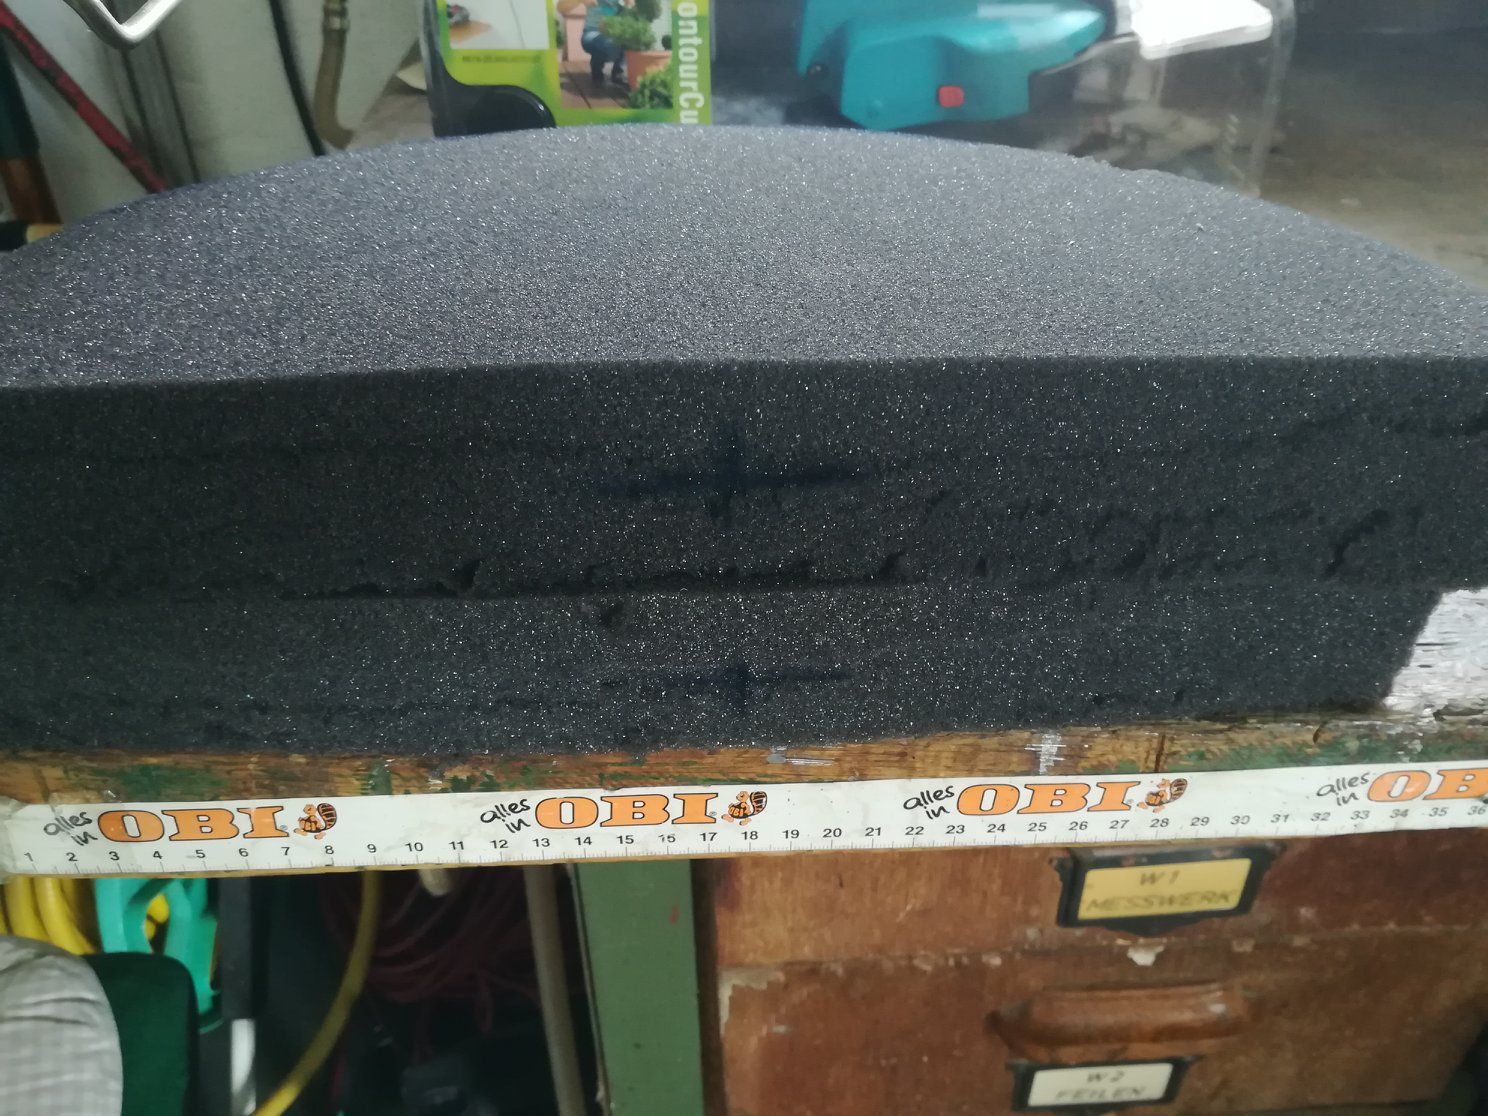
Take a pencil to mark the centre of the foam semicircles.
It is useful to draw a cross. The width of the cross should be equivalent of the width of the rat trap clamp.
Now we prepare the shape of the foam traps.
With a cutter we can form some tips at the edge of the foam.
Using this we can achieve the look of a real bear-trap.


The drawn cross on the foam can now be used for the first cut-in with the cutter.
After every cut you may try to put in the clamp of the rat trap and look if it already fits in.
As soon as the clamp fits, the cut it done.
Now take the superglue to fix the clamp to the foam. Use enough superglue to make sure that it really sticks firmly.
As soon as the glue dried, we can start to bend the trap. The trigger will now stab right through the foam. This stab can be used as a mark for the next cut.
So now we cut a slit from above to be able to bend the trap without the foam being in the way.

The blue circle shows the slit in the foam.
The trigger can be seen in the pink circle.
Step 4: Color the foam
We use the paint to make the trap look more realistic. Some kind of metallic effect is cool for this.

Step 5: Mount the trap to the wood panel
Now we take the wooden panel and put both rat traps (with foam) on it. It is useful to bend the traps and put a shoe in the middle.
If the gap between both „trap-parts“ is big enough (for most shoe-sizes) we take the electric drill and some screws and get to work.
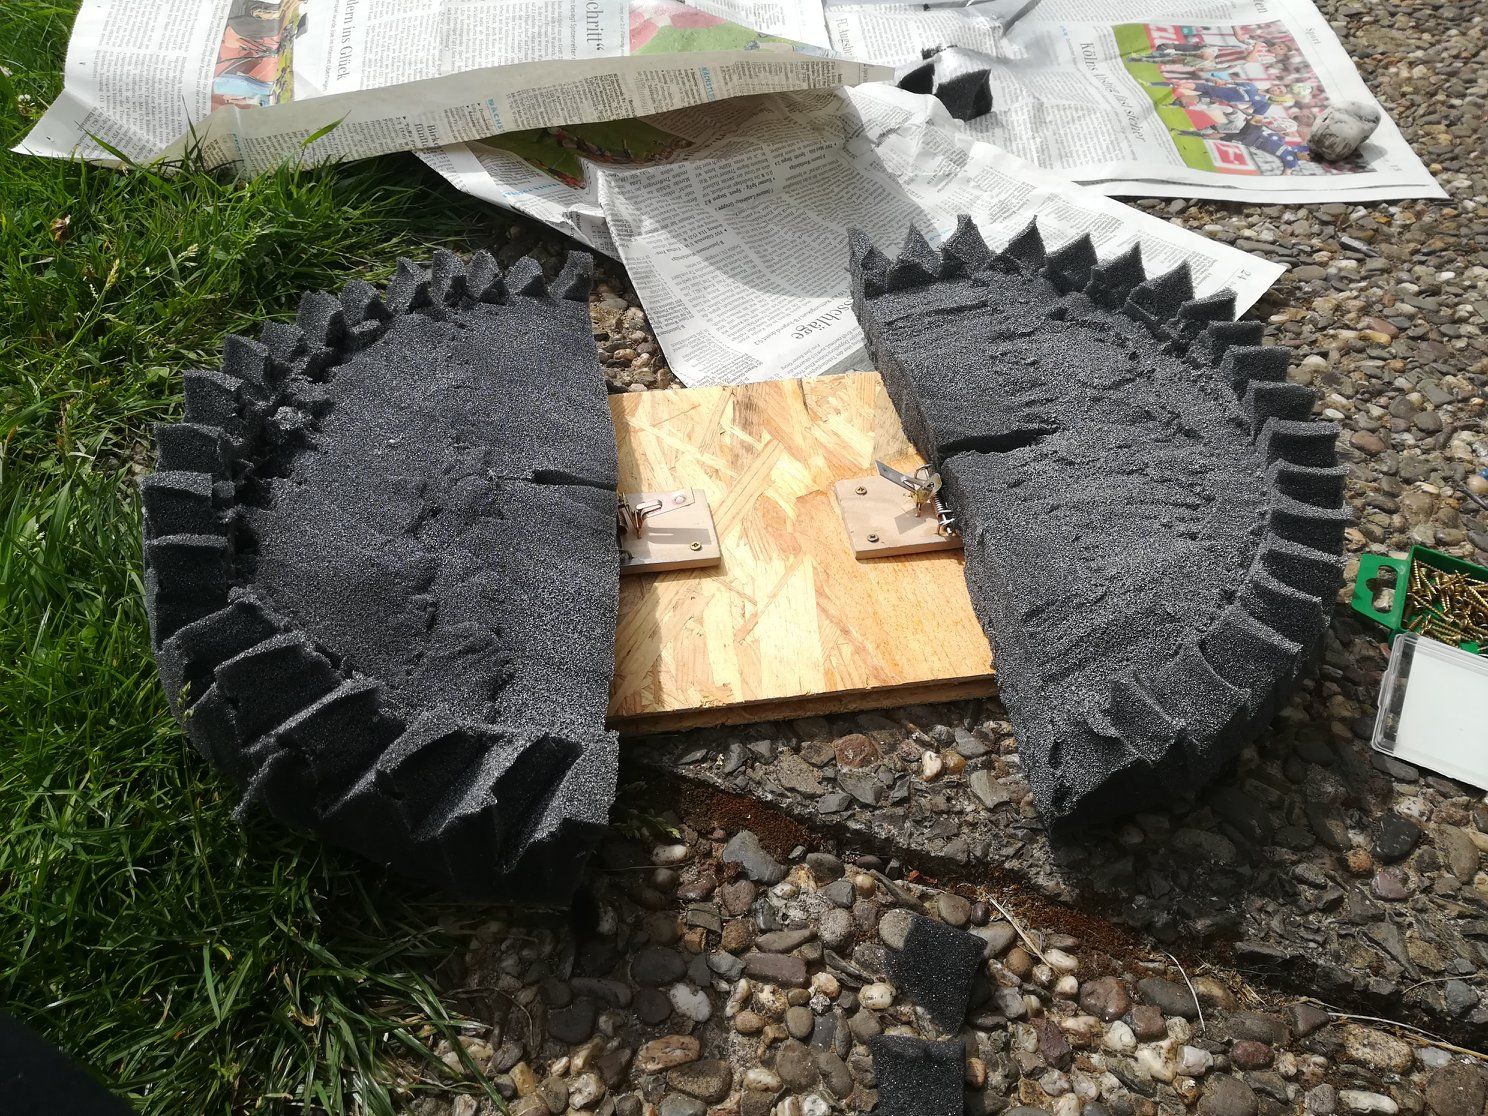
Now it is almost done. We can modify it a bit and take a bit of leather or fabric to cover both triggers.
But altogether the trap is now ready to use.
Have fun with trapping some of your friends or foes.



0 Kommentare