After some people asked me for a tutorial regarding my interactive LARP wounds, I decided to write a short tutorial.
Needed material:
- skin-colored fabric (I used cotton)
- red fabric (I used cotton in a dark-red color)
- white/nature-colored fabric (I used a kind of linen)
- scissors
- liquid latex
- one or more brushes
- sewing equipment (or optional: a sewing machine)
- some (liquid) glue
- fake blood (or other red colors)
- optional: a hair dryer
Step 1 – Prepare the fabric
First think about the sizes of the wounds you want to make.
At my first try I made four wounds in two different sizes: Two for the leg and two for arm wounds.
Of course you can use them for other body regions, too, but in my LARP the most people are wounded in leg or arm.
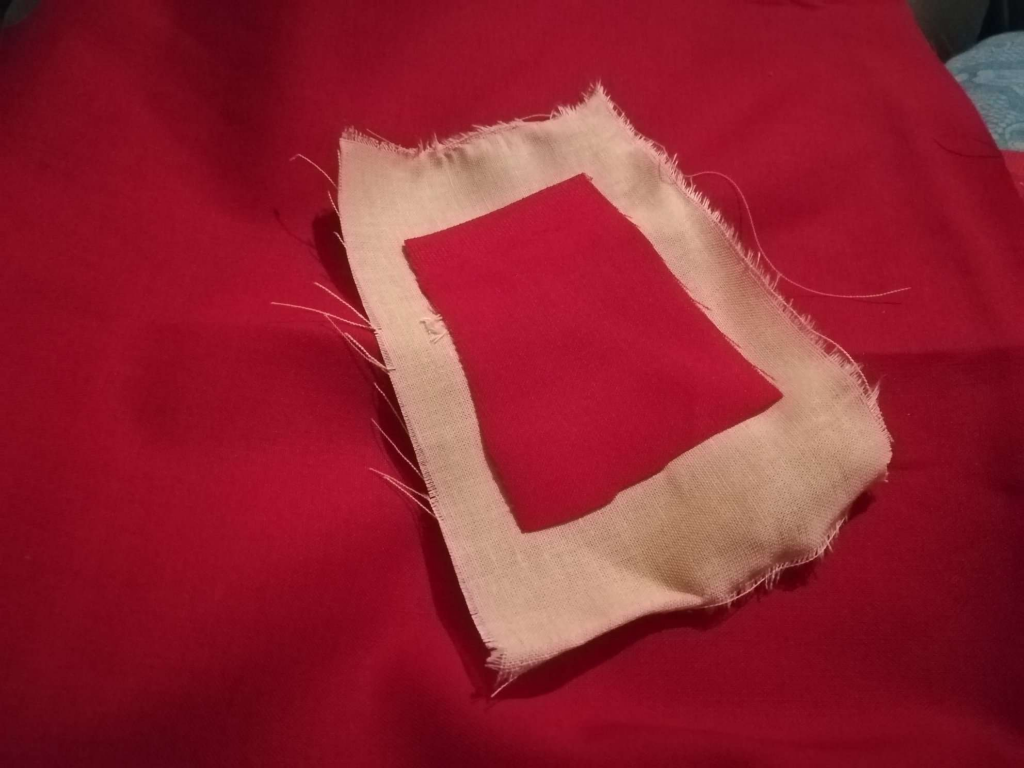
Then you take the skin-colored and the red fabric and cut them to the right size.
You can cut the red-colored fabric a bit smaller than the skin-colored one but it is up to you.
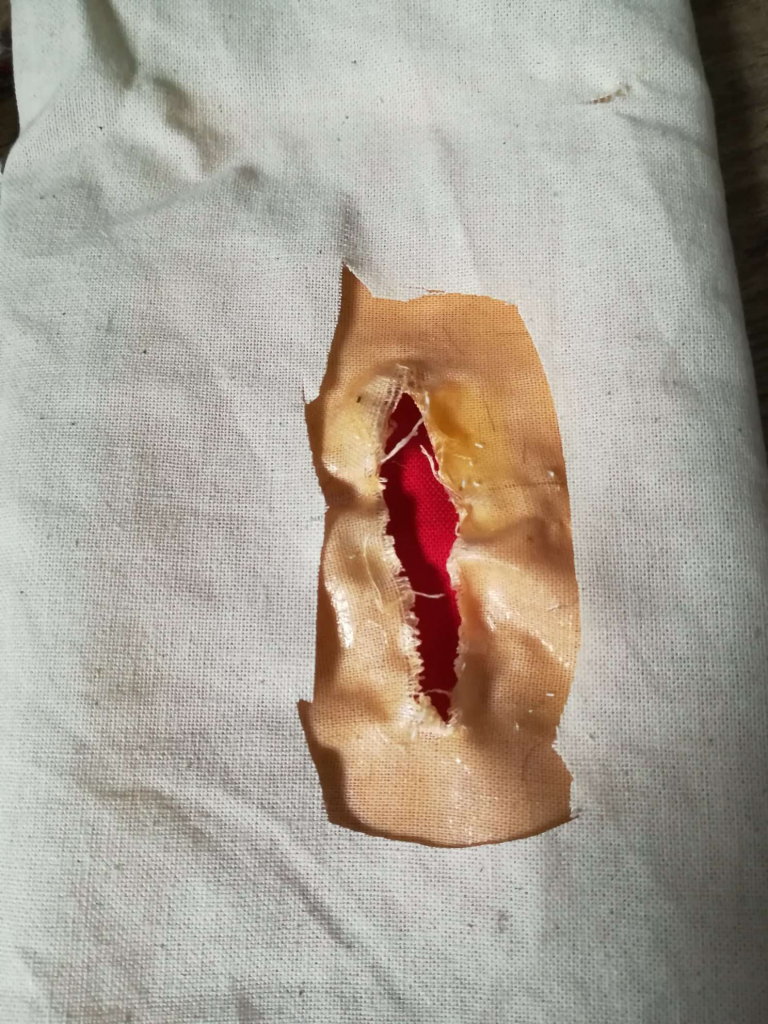
Step 2 – Prepare the „cuts“
Now we need to decide which type of wounds we want to have.
I made a „sword cut“ wound for leg and arm each and a „spike“ wound for leg and arm each.
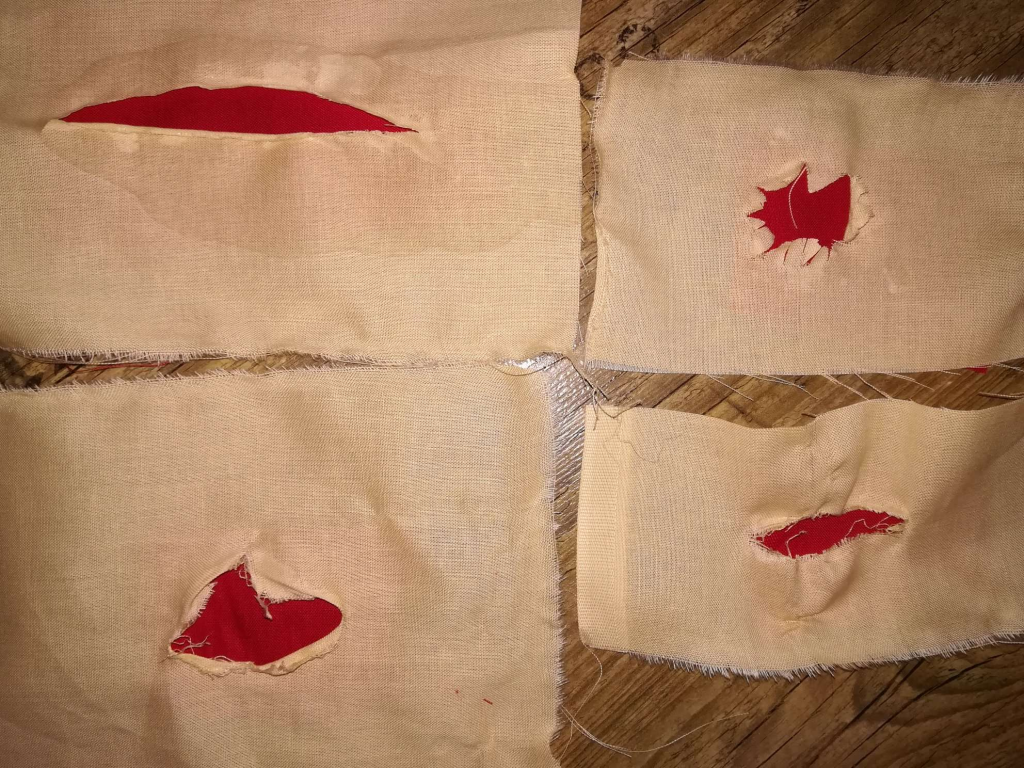
To prepare the cuts we just take the scissors and cut the desired „cut“ into the skin-colored fabric.
The result may look similar to this:
Step 3 – Use latex for the fabric
As we want the wound to look realistic, we will need to apply some liquid latex.
I recommend you to do it outside because the smell can be a bit annoying.
Take the brush and put some layers of latex on the skin-colored fabric.
You can use a hair dryer to dry the latex layers a bit faster.
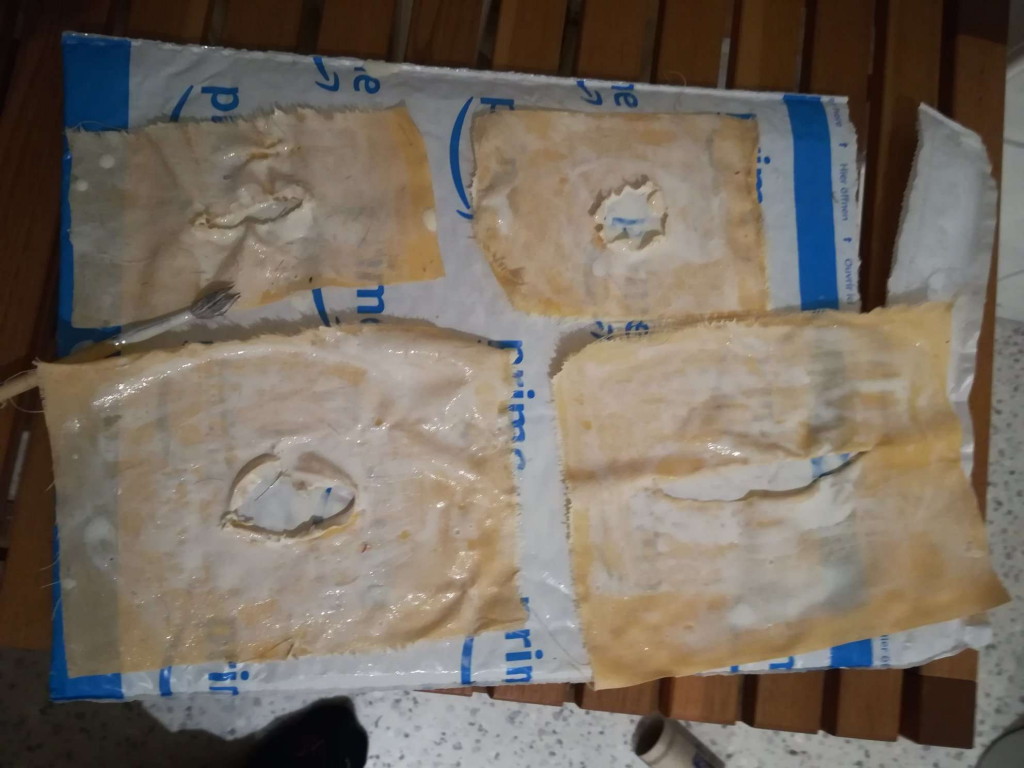
After some layers the interactive wounds start to look and feel really „skin-like“.
You can decide yourself, how many layers of latex you want to apply.
Just try to test and feel sometimes in between if the wound feels „natural“.
Step 4 – Sew and glue
Now take the sewing equipment to sew red and skin-colored fabric.
As we want to cover the edges with white fabric it is absolutely okay to use a sewing machine – we won’t see the stitches in the end.
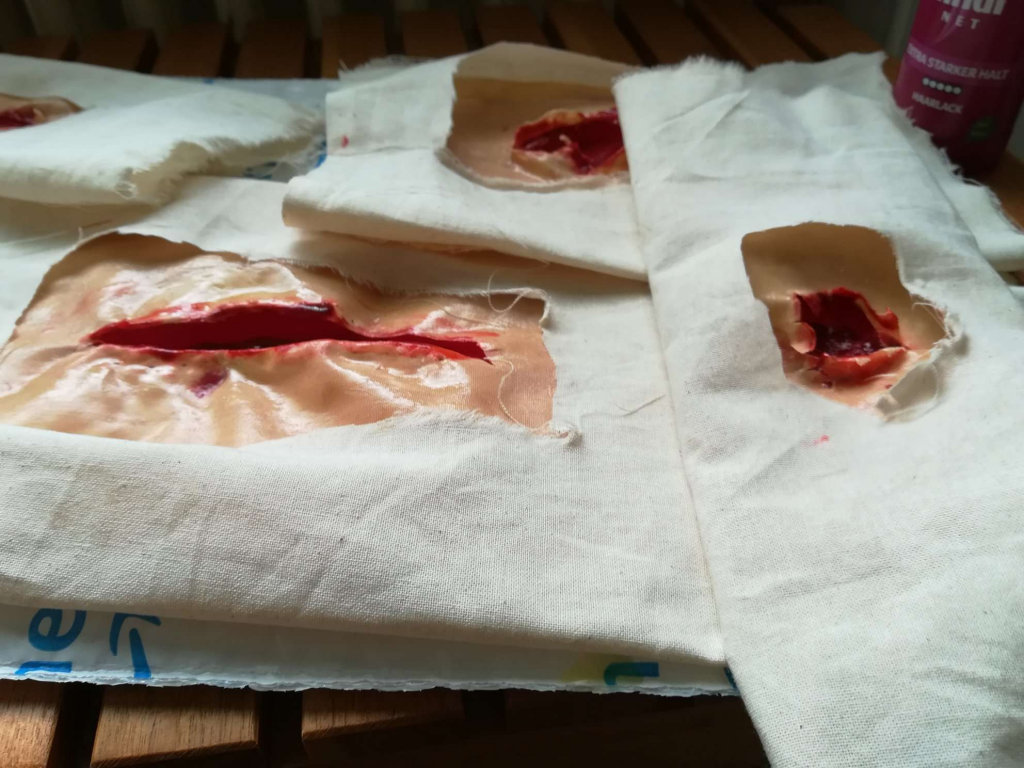
When this is done we cut the white/natural fabric to pieces which are bigger than the „wounds“ (approximately twice as big).
We need them to represent something like this:
Because then we can just cover the leg or arm with the complete fabric and don’t need to „undress“ the character 😉
I put the fabric „around“ the wound and took some glue to stick the fabrics together.
As my character is not very „professional“ the cuts of the fabrics are very untidy. You can even them more if you wish.
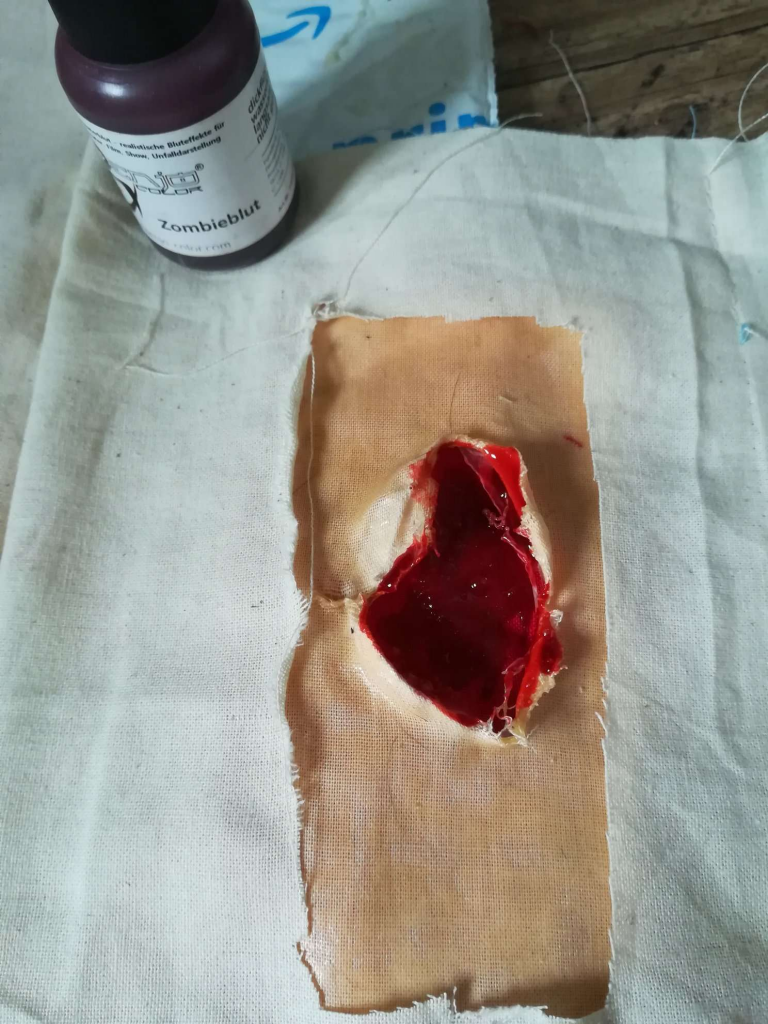
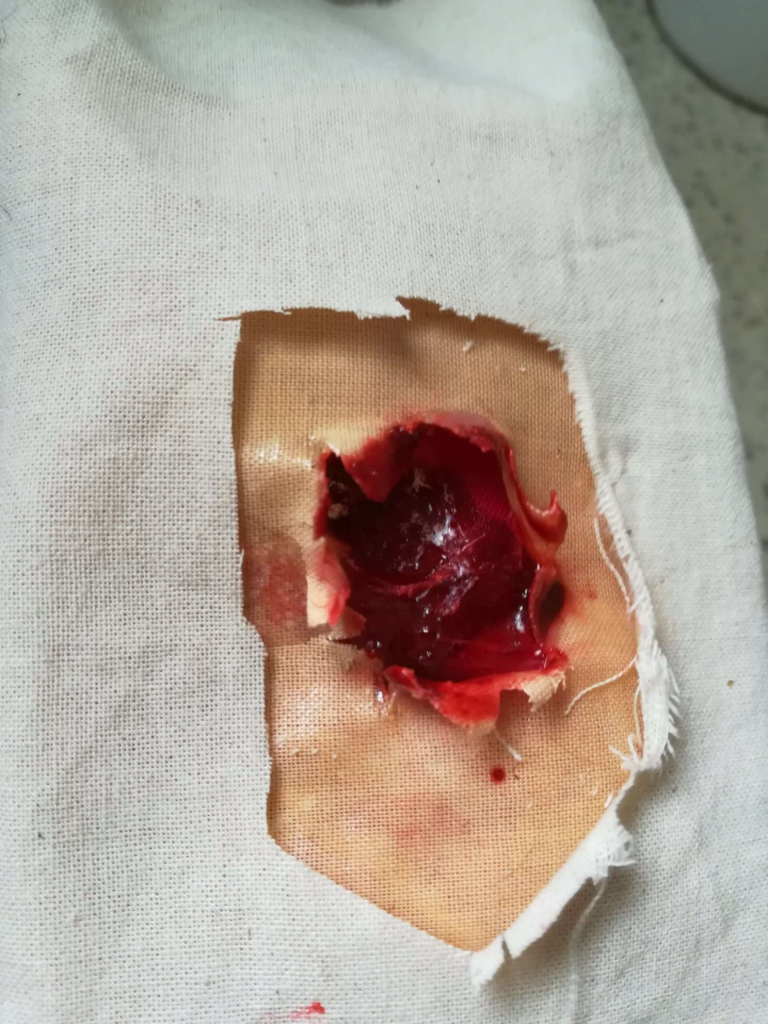
Step 5 – Bloody!
Now we get to the fun part: Take blood or other red colors and paint the wounds!
You can make them as disgusting as you want. Some yellow colors for pus or some white clay to represent some bones are possible as well.
You can use the hair dryer to speed up the drying process.
But that’s simply all you need for the „basic“ interactive wounds.
You can sew the „edges“ of the „skin“ together with needles and can use some sponges to „clean“ the wounds (for example with alcohol).
For me these wounds are a great prop for better healing.


0 Kommentare